What Is a Damage Waiver Program in Property Management?
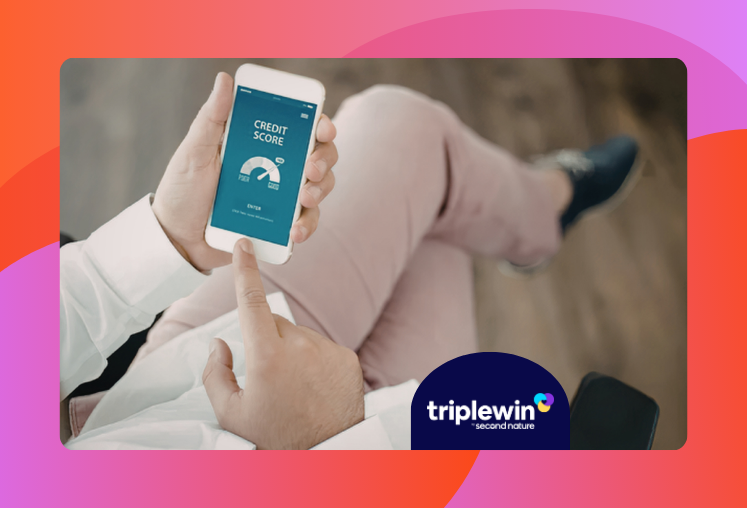
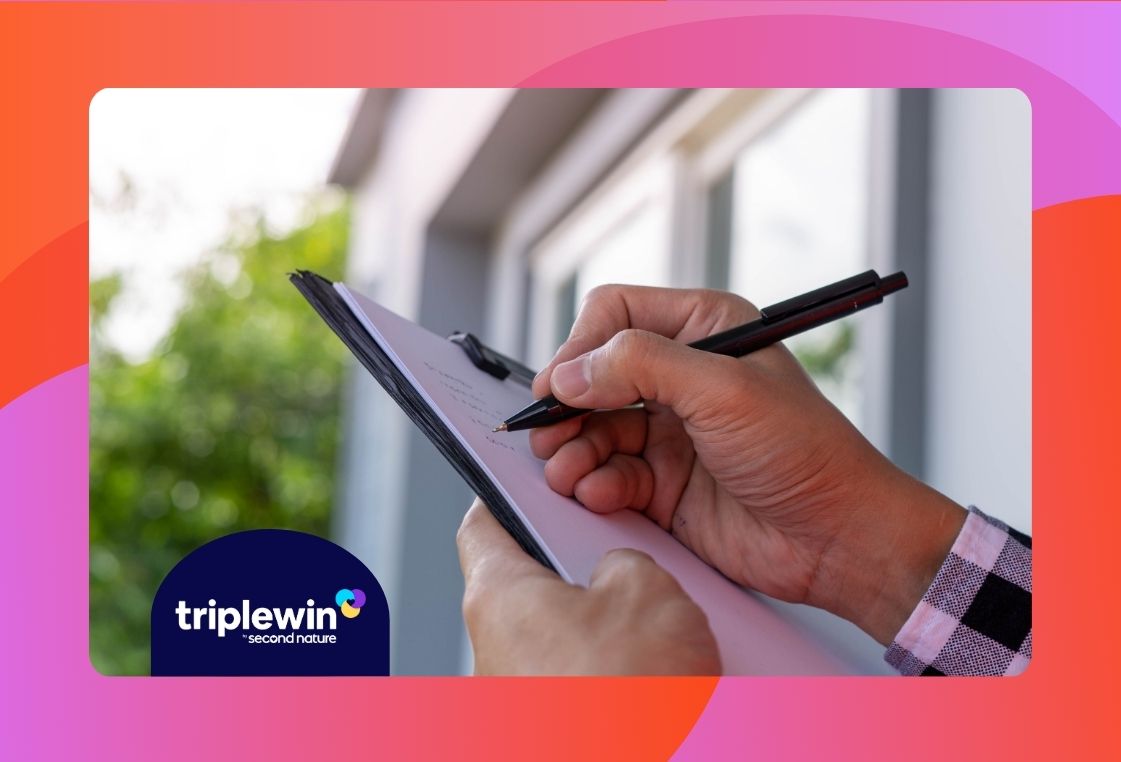
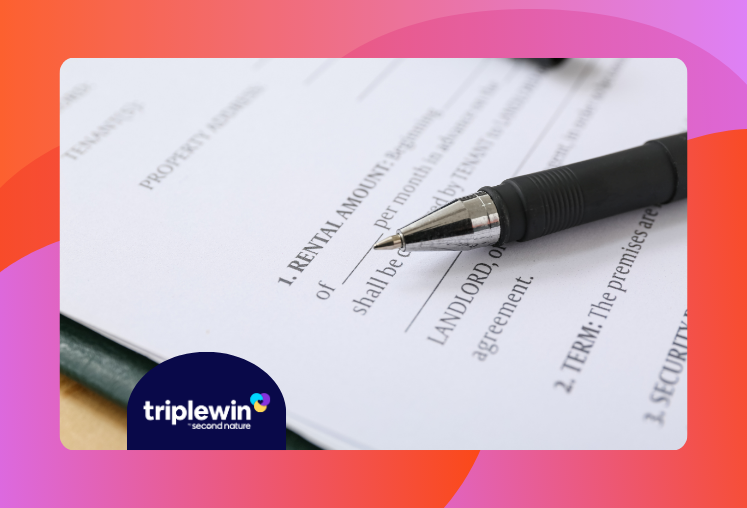
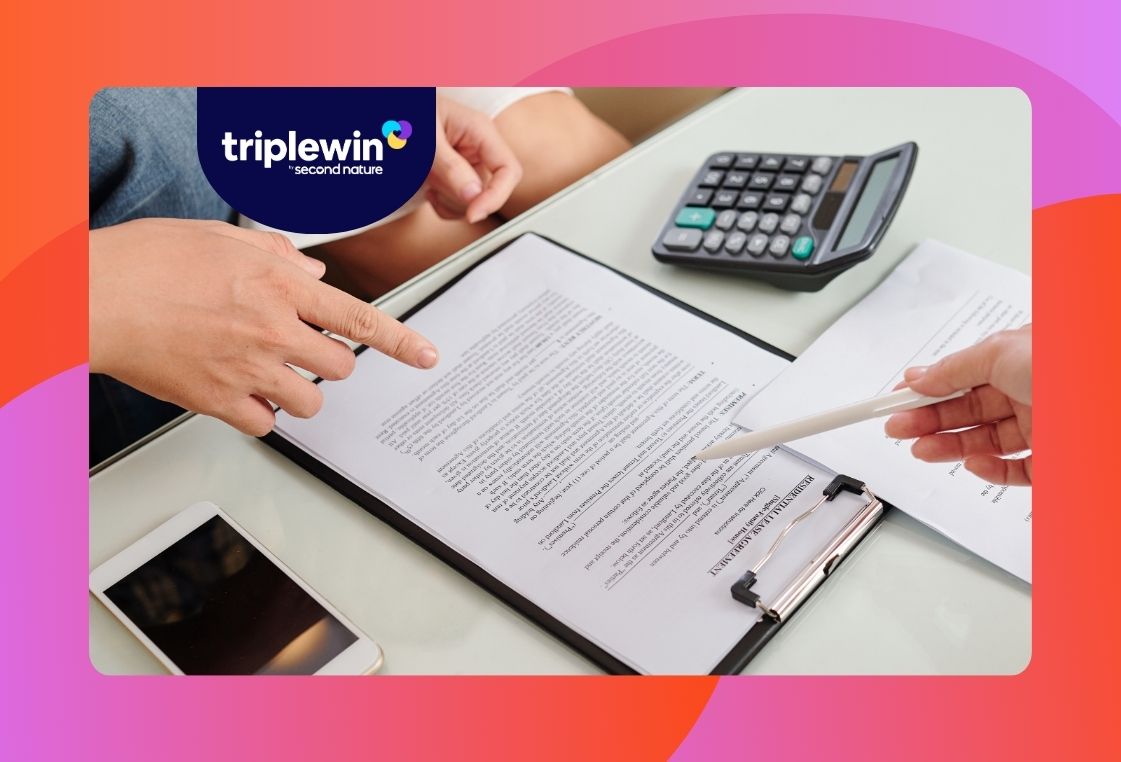
As property managers seek to reduce risk and improve the resident experience, there’s been an increase in damage waiver programs in lieu of traditional security deposits implemented across the industry. A damage waiver in property management is a non-refundable fee collected by property managers to cover the liability of accidental damage from residents or their guests. A damage waiver is one type of security deposit replacement (SDR) product — it can legally substitute for a traditional security deposit in jurisdictions that permit it, but it does not provide the same scope of protection, and it does not substitute for renters insurance (not to be confused with Damage Liability Waivers related to liability insurance). Damage waivers can help streamline operations and improve the resident experience, because they typically minimize disagreements over security deposit claims. They also offer the resident more peace of mind knowing that minor damages will be covered by the damage waiver. TL;DR: Damage waivers can be a useful tool for property managers in place of traditional security deposits. They come with their own unique risks, depending on your portfolio, locality, and more. Important Note: This article is intended for informational purposes only and is not intended as legal advice. Laws governing damage waiver programs, security deposit alternatives, and fee disclosures vary significantly by state, county, and municipality and are subject to change. Always consult a licensed attorney in your jurisdiction before implementing any damage waiver or deposit alternative program. Second Nature does not offer a damage waiver program. This article is intended solely to help property managers understand this product category as it exists in the broader industry. How damage waivers compare to traditional security deposits Damage waivers differ from the traditional security deposits, and it’s crucial to know the differences between the two. How traditional security deposits work Traditional security deposits require residents to pay a lump sum upon lease signing or move-in, which is then held by the property manager, usually in escrow or trust accounts, depending on local and state regulations. Typically, a security deposit is about one to two months’ rent, but again this may vary based on specific regulations. Security deposits are then applied at move-out to cover any damages that the resident might have caused beyond traditional wear and tear. The downside of deposits is that this can sometimes create reconciliation disputes with residents, taking up valuable staff time to defend security deposit withholding. That can in turn lead to negative reviews and reputational damage thanks to unhappy former residents. How damage waiver programs work Damage waiver programs operate differently. Instead of a large upfront fee, a damage waiver is typically a much smaller fee assessed each month. The damage waiver fee is non-refundable and often has a limited coverage cap than the security deposit. One of the great things about damage waivers is that they can help reduce move-in costs for residents. By spreading out costs across the life of the lease, damage waivers reduce the initial costs for residents at lease signing, creating less friction. They can also streamline the move-out phase, because there’s less disagreement over withholdings, since the fee is non-refundable. However, a drawback of the damage waiver is that it can create a “leave it in whatever state” dynamic with a resident, or in the case of an early resident departure, it can leave a property manager short of sufficient coverage for damages and/or losses. Why property managers are considering damage waiver programs Affordability is a top concern for just about everyone right now, and residents are seeking ways to reduce their upfront costs when moving. Damage waivers help property managers meet residents where they are. Besides, how frustrating is it to have an applicant approved and ready to move in, only to have them back out because of upfront costs? Additionally, as we’ve seen a larger movement toward focusing on resident experience, property managers are adopting damage waiver programs to reduce friction with residents. By making things consistent and predictable for residents, you can minimize disputes and complaints. Finally, damage waivers can streamline operations. Without the burden of escrow tracking that comes with traditional security deposits, your staff are freed up to work on more strategic projects. Plus, your team saves time at move-out because they don’t have to calculate or defend security deposit deductions. What property managers gain from damage waiver programs The benefits of damage waivers for property managers are clear: Lower upfront cost for residents: Property managers deliver a better resident experience and offer a more compelling product by reducing upfront move-in costs. Predictable recurring structure: Residents, property managers, and investors all know where they stand financially, and don’t have to try to predict what might be withheld from security deposits. Potentially smoother lease conversion: Lower upfront costs can help increase your conversion rate from application to move-in. Residents are less likely to balk at a small monthly charge than a full extra month’s rent on lease signing day. Reduced escrow accounting complexity: Because damage waiver programs are non-refundable and face fewer regulations, they offer a lighter lift for property accounting teams. May reduce minor damage disputes: Because damage waivers cover minor damage across the property, you have fewer disputes to deal with and fewer residents arguing with you over what constitutes wear and tear. Coverage limits, compliance risks, and other trade-offs to evaluate Damage waivers certainly don’t come without their risks and drawbacks. Here are some reasons that you should be cautious before jumping in with damage waiver: Coverage limits, tenant obligations, and collection risk: Most damage waivers have strict coverage limits and are intended to cover only minor accidental damage — not major repairs, intentional damage, or pet damage. But the more important point is often misunderstood — residents enrolled in a damage waiver program are not insured parties and are not beneficiaries of any insurance coverage. They remain fully obligated to pay rent and all lease-required amounts, including the cost of repairs for damage beyond ordinary wear and tear. When damages exceed the waiver's coverage cap, property managers are left pursuing collection from residents directly — with no guarantee of recovery. If the damage waiver is structured as a residential tenant surety bond rather than a fee-funded program, the exposure is even more explicit: the resident is legally obligated to reimburse the surety company for any amounts paid out on a claim, meaning the bond functions more like a credit product than a consumer protection. In all cases, the waiver shifts administrative convenience, not financial risk — uncovered losses ultimately remain the resident's obligation, and the property manager's problem to collect. State regulatory considerations: Since damage waivers are newer to the market than traditional security deposits, the level of regulation varies by jurisdiction; some states have enacted specific statutes with consumer protection requirements. Be sure to check your state’s regulations and be on the lookout for any upcoming restrictions. Potential resident confusion: Some residents, especially those with long rental histories, are very familiar with the traditional security deposit practice, and may have questions about the monthly fee that comes with a damage waiver program. Make sure to clearly explain, both verbally and in writing, what the waiver does and does not cover, and that it is non-refundable. Portfolio risk profile differences: Not all properties are created equal, and trying to apply a universal damage waiver program across your portfolio can leave gaps. This is especially true if your portfolio spans single-family, small multifamily, and large multifamily properties. Investor expectations: Much like residents, experienced investors have become accustomed to the traditional security deposit process. They may have concerns over the coverage limits of damage waivers and what happens if there’s uncovered damage. Overall, a damage waiver shifts how risk is structured, but it doesn’t eliminate the risk. It’s important to be aware of the differences and decide what’s best for your particular business. How to determine whether a damage waiver fits your portfolio Deciding what’s right for your portfolio might seem like a difficult process, but we’ve outlined clear steps to help guide you. Review state regulations: The most important step is learning about regulations in your state, county, and city. Security deposits are typically heavily regulated, but damage waivers may have limited regulations given they are new to the market. We recommend that you speak with an attorney in your area to better understand which is best for you. Analyze historical damage data: Leverage your property accounting software to pull reports on historical damages. How much are you typically withholding from your residents’ security deposits? What have your repair costs been? You can use this information to estimate how much would have been covered by a damage waiver program, and which is a more financially responsible approach. Evaluate resident demographics: Be sure to factor in who your typical residents are. Do they typically struggle to pay a full month’s security deposit upfront? Are you renting to students who might have a higher rate of damages? These can all factor into your decision. Assess operational time spent on deposits: Talk with your team and find out how much time they typically spend managing security deposits, both handling escrow accounting and responding to withholding disputes. If security deposits aren’t a large operational lift for you, damage waivers might not make as much sense. Consider long-term revenue and retention impact: Waivers offer a more consistent, predictable revenue stream, but come with additional risks. The monthly fee structure may appeal to residents at move-in, but could become frustrating two or three years into their tenancy when they’re still paying an extra monthly fee. These are crucial factors in making the decision of which to offer. The operational reality behind deposit alternatives Like any other process, adopting a damage waiver program comes with a significant amount of change management. Even if you adopt a damage waiver program, you still need: Clear documentation: Make sure the new program is clearly outlined to your internal teams, with standard operating procedures and instructions. You should also add it to your PMA so that new investors know how the program works and what it means for them. Transparent resident communication: Easy-to-understand flyers, web pages, and videos can help residents better understand how the waiver works, what it covers, and what it doesn’t. Include an FAQ to minimize calls to your office or future confusion. Addenda management: You’ll want to create a new lease addendum that can be included for all new residents. It should clearly state how the program works, what the monthly fee is, and what it does or does not cover. Consistent onboarding: Make sure that an explanation of the waiver program is included in all resident onboarding materials in order to minimize confusion and questions when residents see the charge on their ledger. Protection models succeed or fail based on execution, so make sure you have a game plan before getting started. How Second Nature supports any deposit model Second Nature's Resident Experience Platform supports documentation and communication around whatever deposit model your business chooses to use — including damage waivers offered by third-party providers — but Second Nature is not a damage waiver program vendor. With Resident Onboarding, you can deliver an unskippable, customized workflow for residents to understand and electronically sign their lease. Built for mobile-first, the process meets residents where they’re at through Lease Guide. Residents can opt into or out of benefits, including deposit installments or damage waiver programs, all while getting a more comprehensive understanding of their obligations and responsibilities. With Maestro™, property managers can build and update lease templates in just a few clicks, so if you choose to change your deposit later on, you can immediately implement new addenda. Clarity and operational efficiency are paramount, whether you’re using deposits, waivers, or a combination of both. Residents will understand their financial obligations from day one, and you’ll reduce the burden of manually updating onboarding workflows. Why lease transparency reduces disputes and boosts renewals Lease transparency is core to the resident experience, and essential to running an efficient business. Transparency reduces disputes because everyone knows what they’re responsible for. A clear onboarding process reduces administrative burden, and a personalized experience improves resident satisfaction and makes them feel like a valued human, not just another number. Operational simplicity gives your team the time to focus on things that move the needle, including boosting resident happiness and increasing renewal rates. With the Resident Experience Platform, transparency and efficiency go hand in hand. FAQs about damage waiver programs What does a damage waiver typically cover? While damage waivers typically cover minor, accidental damage like scuffs, nail holes, and floor scratches caused by residents or guests, they generally exclude major damage, negligence, and pet-related issues. Is a damage waiver the same as renters insurance? No-- The damage waiver described in this article is a security deposit alternative — a non-refundable monthly fee that covers minor accidental physical damage in lieu of a traditional security deposit. This is not the same as a Damage Liability Waiver (DLW, also called a Tenant Legal Liability Waiver, Property Damage Liability Waiver, or TLL Waiver), which is an insurance compliance product that satisfies a lease's renters insurance/liability coverage requirement. A DLW is backed by a commercial insurance policy, typically covers major casualty events (fire, water, smoke damage) up to $100,000, and operates entirely separately from security deposit law. Many leases include a Damage Liability Waiver addendum as a renters insurance alternative — this is a different product from a Damage Waiver Program. If your lease includes such an addendum, residents enrolled in it are satisfying their liability coverage obligation, not their security deposit obligation. The two products can coexist in the same lease and address entirely different financial risks. Consult your attorney to ensure your lease addenda are clearly labeled and do not create ambiguity Can a property offer both a deposit and a waiver? Depends. If the applicable state and local laws permit, property managers may be able to offer a hybrid model using both a security deposit and a damage waiver. The traditional security deposit may be used for major damages caused by the resident, and is refundable if the resident does not cause damage. The waiver may cover minor damages that may not be covered by the deposit. Are damage waivers regulated differently by state? Yes, damage waivers are regulated at the state level. Because they’re newer to the market than traditional security deposits, the level of regulation varies by jurisdiction; some states have enacted specific statutes with consumer protection requirements. Always check with an attorney in your area before implementing new programs like damage waivers. How should damage waiver terms be explained during onboarding? It’s best to explain damage waiver programs in plain language during the resident onboarding process. The lease covers the legal details; the onboarding process should make it clear to the resident at a glance what the waiver does and does not cover, and where the resident’s obligations lie. See how Second Nature streamlines leasing from approval to move-in Interested in seeing how Second Nature can streamline your leasing process? Schedule a quick call with a member of our team today to tour the Resident Experience Platform.
![]() June 16, 2026
June 16, 2026
Read more