What MERV Rating Should I Use?
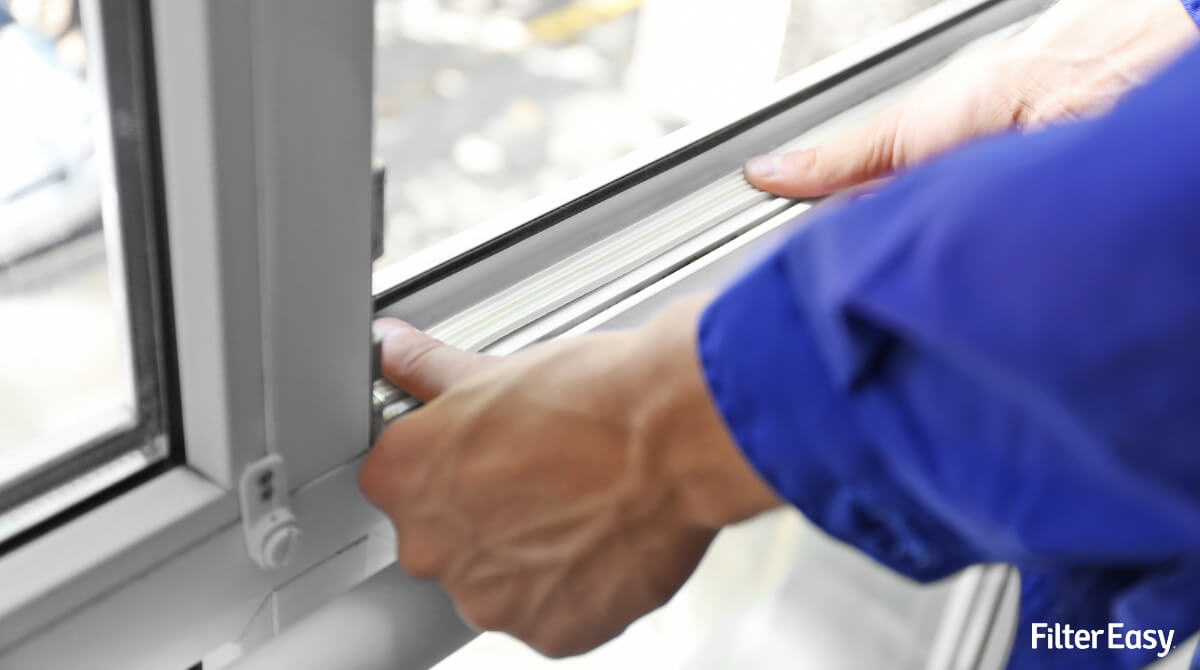
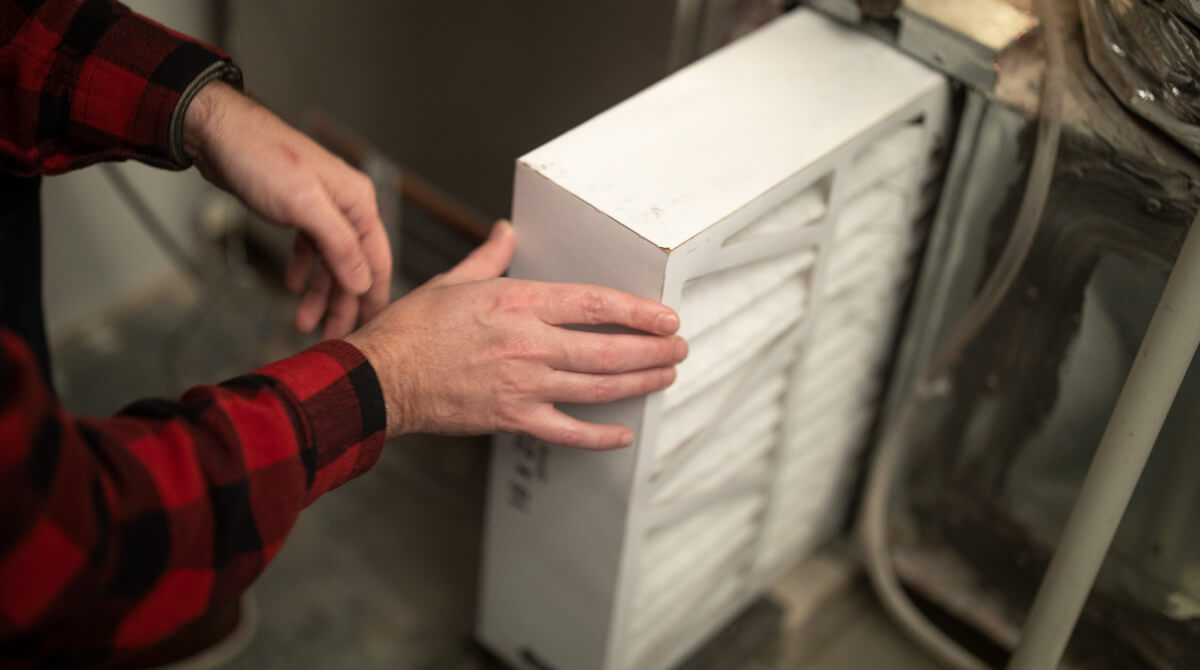
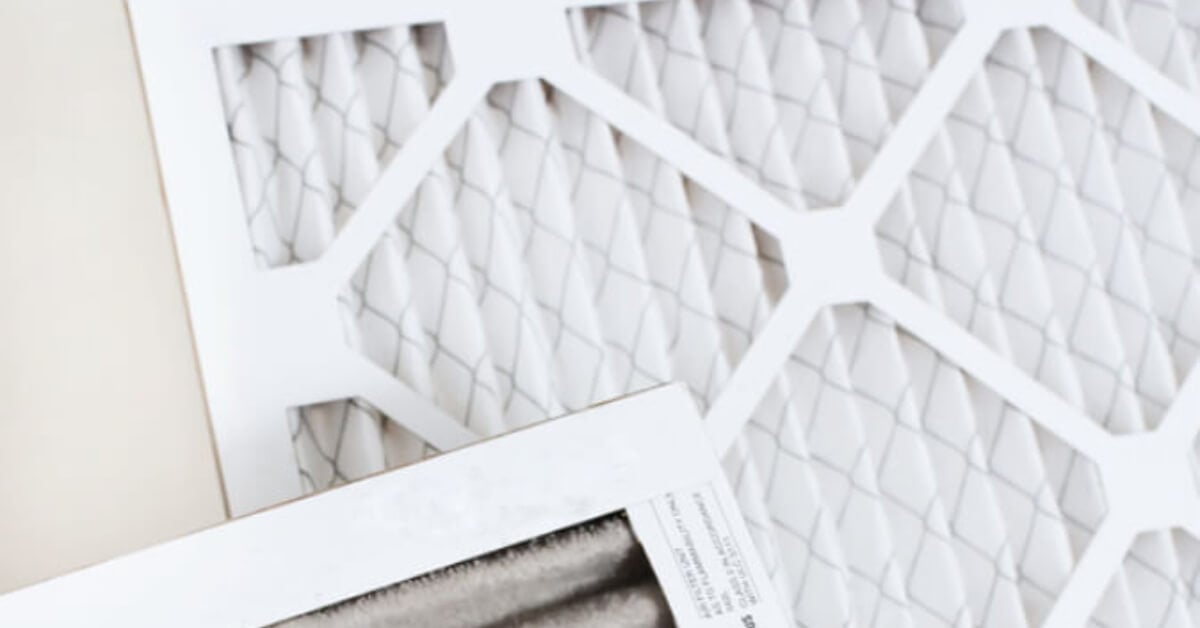
Is a MERV 8 filter, MERV 10 filter, or MERV 13 filter right for your home? As you may know, we at Second Nature offer a selection of three differently rated air filters: Our Essential (MERV 8), Essential+ (MERV 10), and Health Shield (MERV 13). So, which one is right for you? As you try to make this decision, you'll need to answer several important questions: What if I have allergies? How different is each MERV rating? What's the best filter if I have a pet? Will any of these filters make my HVAC system work less efficiently? Who got sent home on The Bachelorette last week? In this week's blog, we have the answers to all of these questions and so much more. Don't be MERVous. After you finish reading, we guarantee you'll know what you need to know about MERV ratings so you can make an informed decision. Already know what you need? Go ahead of check filters off your to-do list right now! To kick things off, we'll give you a basic rundown of everything MERV. What exactly is MERV? How does the MERV rating system work? What's pressure drop? Essential MERV 8 Filter Essential+ MERV 10 Filter Health Shield MERV 13 Filter What is MERV Rating? MERV, otherwise known as Minimum Efficiency Reporting Value, is a system used to evaluate the efficiency of an air filter based on how effective it is at catching particles of varying sizes. Basically, the higher the MERV rating, the higher the air filtration capabilities of a particular filter. How does the MERV rating system work? Well, MERV ratings range from 1 to 20, with 1 being the lowest level of filtration, and 20 being the highest. Filters that are MERV 16 through 20 are usually only found in hospitals, cleanrooms, and nuclear power plants. The home air filters you're looking for have a MERV rating anywhere between MERV 5 and 13. We, however, do not endorse any filter that has a MERV rating lower than a MERV 8, and filters below MERV 5? We don't even talk about those. Filters rated below a MERV 5 are basically the wet socks of air filters. Please don't use them and embarrass your air return like that. Your indoor air quality deserves better. MERV ratings are determined by a filter's effectiveness at filtering particles of different sizes. Specifically, we're talking about 12 differently sized particles from 0.3 to 10 micrometers (µm) in diameter that were created in a laboratory environment. For reference, a human hair is about 50 µm, and the smallest particles that can be identified by the human eye are about 40 µm. These 12 particles are then divided up into three different size ranges (E1, E2, and E3), and four subranges that exist within each range. The first range, E1, includes particles sized 0.3 to 1.0 µm. E2 includes particles sized 1.0 to 3.0 µm, and E3 encompasses particles sized 3.0 to 10.0 µm. The next step in the MERV ratings test? Each filter will go through six tests per particle size (72 tests total) to determine its MERV rating. In each test, the total number of particles in the test will be counted before being sprayed through the filter, and then counted again after. The end count compared to the total amount of particles is then converted into a percentage representing how many particles were successfully filtered out of the air. The worst percentage out of the six tests is selected as the official measurement used to determine a filter's MERV rating. That's where the minimum in MERV comes from. If we didn't use the worst score, it would just be called ERV, which is nowhere near as cool of a name. Check out this chart below for more on E1, E2, and E3 particles: Now, on to pressure drop! What's pressure drop? In simple terms, pressure drop is basically air resistance. Your air filter is a literal barrier between your HVAC system and your vents, and that slows the ability of air to get pulled through your vents to your actual system. How much your HVAC’s air flow is slowed by a filter is equivalent to its pressure drop. Pressure drop varies based on the MERV filter. Filters that are more tightly woven make it harder for air to pass through. This creates a decrease in air flow and a higher pressure drop. As long as you have an air filter installed in your air return, there's no way to avoid pressure drop. Even MERV 1 - 4 fiberglass filters have a pressure drop, though it is minimal. These cheap filters will have little impact on air flow at the expense of having little impact on air quality. The reason that pressure drop is so low for a fiberglass filter is because it is extremely porous and as a result, ineffective at filtering. Finer particles will have no problem at all getting through a fiberglass filter, and those that are larger will be filtered out less effectively than by a pleated filter. Really fiberglass? C' mon, you literally have one job. Pleated filters that are MERV 8 to 13, unlike fiberglass, can both filter out small particles effectively and diminish pressure drop (this here is as close to MERVana that you can get). Even though pleated filters do have a slightly higher initial pressure drop, it is not so significant as to cause any harm to your HVAC system, as long as you’re changing your filters regularly. Be aware that as time goes on, more dirt, dander, mold, and dust will be trapped by your filter, reducing air flow and therefore increasing pressure drop. So, make sure you’re replacing your air filter regularly to prevent this from happening. A filter replacement every two to three months will do the trick to make sure your HVAC system sees no decrease in functionality. Ok, now that we've got all of that covered, it's time to meet the MERV filters. Essential MERV 8 Filter First up, it's Essential, our MERV 8 filter. What does an Essential filter out of the air? It takes care of all the basics: pollen, dust, dust mites, mold, and bacteria. Who should own a Essential? Homeowners who don't live near smoke pollution and who don't share a household with any allergy-suffers or pets. What's the filtration efficiency? To be classified as a MERV 8 filter according to NAFA (National Air Filtration Association), a filter must filter out at least 70% of E3 (3.0-10.0 µm) particles and 20% of E2 (1.0-3.0 µm) particles. Essential actually exceeds that requirement. In addition to 70% of E3 particles, it also filters out 30% of E2 particles and 1.9% of E1 (0.3-1.0 µm) particles. Since it is a MERV 8 filter, it isn't designed to catch the smallest of small particles that fall into the E1 category, like pet dander. In addition, after conducting standard dust tests, it was found that Essential had an arrestance rate of 81.5%. This means that 81.5% of dust particles fed into the MERV filter were successfully filtered out of the air. Okay, so how about pressure drop? Our pressure drops tests were conducted at pretty standard air flow rates for the average HVAC system. At these rates, we found that Essential's initial pressure drop is around 0.024". This is very low, and barely different from the pressure drop of a MERV 1-4 fiberglass filter. Try Essential Essential+ MERV 10 Filter Next, we'd like to introduce our Essential+ filter. This is our MERV 10 and mid-level MERV filter. What does a Essential+ filter out of the air? Everything that the Essential does, so pollen, dust, dust mites, mold, and bacteria. In addition, you can say goodbye to that pet dander that's been floating around. Who is a Essential+ perfect for? Pet owners, of course! Also, anyone who has mild allergies or is just looking for additional filtration. How efficient is it? MERV 10 filters should remove at least 85% of E3 particles, 65% of E2 particles, and 20% of E1 particles from the air. Our Essential+ filter removes a minimum of 87.9% of E3 particles, 65.6% of E2 particles, and 24.4% of E1 particles. You know nothing much, just going above and beyond as usual. In the standard dust tests we conducted, Essential+ had a total particle arrestance of 92.5% (Sorry Lite, Micro's got you beat). What about pressure drop? Our Essential+ filter has an initial pressure drop that's slightly higher than the Essential+, but not by anything significant as it comes in at about 0.03 WG. This is no surprise as this filter does provide an extra level of filtration. Try Essential+ Health Shield MERV 13 Filter Last, but most definitely not least, we have our Health Shield MERV 13 filter. This filter has our highest MERV rating. What does a Health Shield filter out of the air? The answer to this, my friend, is a whole lot. For starters, it filters everything that a Health Shield does, which includes pollen, dust, dust mites, mold, bacteria, and pet dander. Then, it also filters out cooking oil smoke, smoke, smog, AND virus carriers. What else is left? We sure can't think of anything. Who should own a Health Shield filter? Homeowners with more than one pet in the home and those who have severe allergies. People that live in heavily polluted areas or experience smoke pollution in the summertime will benefit from a Health Shield, as smoke particles are very small and hazardous to your health. How about efficiency? As specified by NAFA, to be labeled as MERV 13, a filter must successfully remove at least 90% of E3 particles, 85% of E2 particles, and 50% of E1 particles. Our Health Shield filter removes a minimum average of 97.2% of E3 particles, 85.5% of E2 particles, and 50.2% of E1 particles. As you can see, this filter is extremely effective. In standard dust tests that were conducted, our Health Shield filter had a total particle arrestance of 98.1% (Looks like we have a winner). How's the pressure drop looking? Since it does provide the highest level of filtration, the Health Shield filter has the highest initial pressure drop at about 0.053 WG, which still should not pose any threat to your HVAC system. Try Health Shield Well, there you have it. Now you're a MERV ratings expert and the time has come to choose your fighter. Will it be Essential, Essential+, or Health Shield? Make your choice here. Just an FYI, but filters ranging from MERV 1 through MERV 4 typically only remove less than 20% of E3 particles. One more time for the people in the back, anything under MERV 5 = very bad.
 February 6, 2023
Read more