Resident turnover continues to climb across the property management industry, driving a more pressing need for comprehensive move-out and move-in plans. In fact, a 2022 Zillow report revealed that 74% of recent renters plan to move in the next three years. 43% of property managers listed maintaining high occupancy rates as a top concern, when surveyed for AppFolio’s Property Management Benchmark Report, reflecting higher turnover rates across the industry. In order to manage move-ins and move-outs, property managers need a detailed rental walkthrough checklist to help standardize their process.
A rental walkthrough at the beginning or end of a resident’s tenancy helps get the property manager and the resident aligned on the condition of the unit, what work needs to be done, and whether part or all of the security deposit will be withheld. It also gives the property manager the opportunity to plan for any turnover maintenance that needs to be done before the property can be rented again. Keeping this organized can help property managers get units back on the market more quickly, avoid difficult security deposit disputes, and protect the condition of their properties.
Our rental walkthrough checklist gives property managers a clear standard to follow when conducting walkthroughs at move-in and move-out.
What is a rental walkthrough checklist?
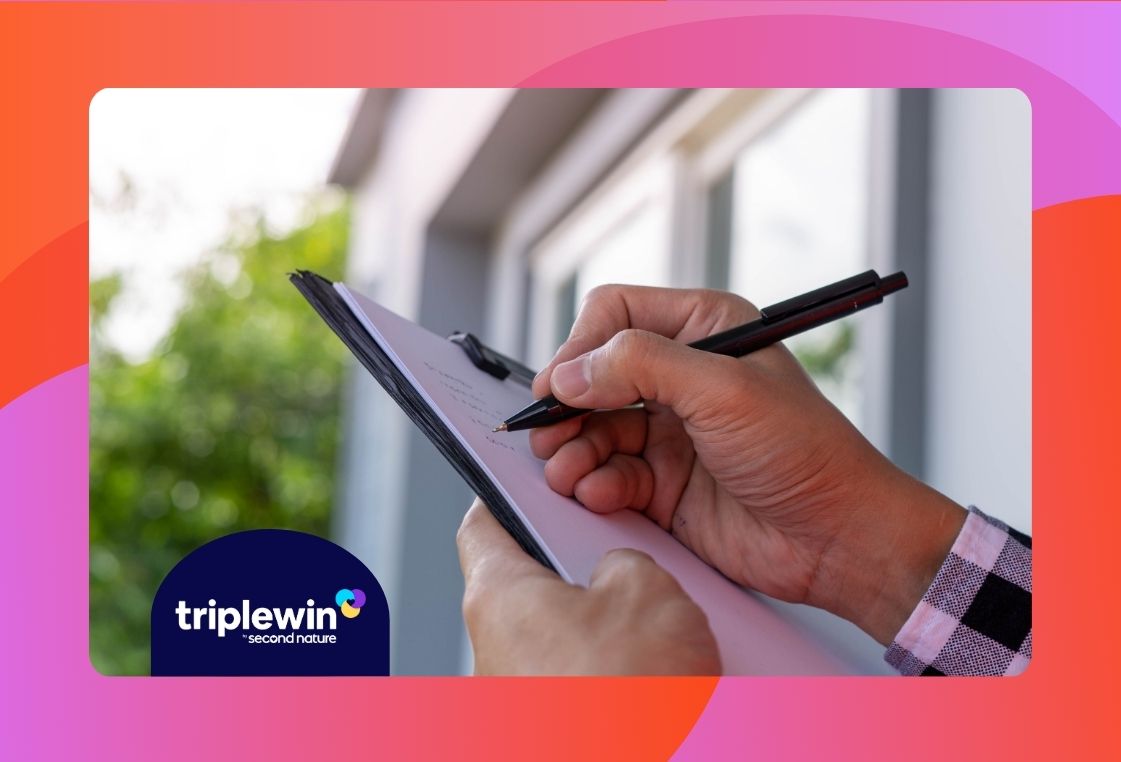
A rental walkthrough checklist is a tool used to standardize the documentation of a unit’s condition, typically at move-in or move-out. A walkthrough checklist is typically either completed alongside the resident or shared with the resident in order to create a shared record and get alignment on the condition of the home.
A walkthrough checklist is slightly different from an inspection checklist, which is used during residency to assess the current condition of the unit and determine whether any maintenance work is needed.
The walkthrough checklist can often be an important document when it comes to disagreements over security deposits and damage liability upon move-out.
Why property managers should use a rental walkthrough checklist with every resident
Rental walkthrough checklists are important for a number of reasons, most notably minimizing disputes and getting residents on the same page as property managers. Here are some key reasons why property managers should use a rental walkthrough checklist with every resident:
- Avoid disputes over damages: When you have a standardized checklist from both move-in and move-out, you can easily identify areas of damage beyond usual wear and tear. Because these documents are shared with your resident, you can minimize disagreements or legal disputes over who caused the damage.
- Support property documentation for deposits: Depending on your state and local guidelines, you may need certain documentation to support withholding part or all of a security deposit. By standardizing walkthroughs, you have more robust documentation if you need to withhold security deposit funds.
- Make turnover faster and more predictable: A move-out walkthrough can also be a valuable tool when performing turnover work after a resident has moved out. You can use the walkthrough to identify what work needs to be done and begin lining up vendors to shorten turn times. You can also provide move-in walkthrough documentation to those vendors so they know exactly what condition you expect the unit to be in for the next resident to move in.
- Show professionalism and consistency: Standardized processes make residents understand your thoroughness and professionalism. By following consistent procedures, you’re presenting both competence and sophistication.
When should property managers perform a rental walkthrough?
In general, property managers should aim to perform rental walkthroughs as close as possible to move-in day and move-out day. That minimizes any opportunity for disagreements to arise between the walkthrough and the handing over of keys.
Some property managers do choose to perform move-out walkthroughs early, often up to a month before the resident’s final day of occupancy. This gives the management company more time to plan ahead of turnover maintenance and get vendors scheduled to do work immediately at the start of the vacancy. This can shorten the time a unit sits empty and get rent checks coming in sooner.
What to include in a rental walkthrough checklist
Your walkthrough should be detailed and comprehensive in order to make sure you aren’t missing crucial maintenance items or damages. Your checklist should include:
- Walls
- Floors
- Appliances
- Faucets, drains, toilets, and other plumbing fixtures
- Towel racks or hooks
- Lightbulbs
- Lighting fixtures
- Outlets
- Switches
- Doors, handles, and doorframes
- Cabinets
- Drawers
- Countertops
- Shelves
- Windows, screens, window frames, and blinds
- Closets (including shelving and rods)
- Baseboards and moldings
- Shower doors or curtain rods
- Water heater
- Boiler or furnace
- HVAC system, including vents and filters
- Whole-home water softeners or filters, if present
A comprehensive checklist should be broken out by area of the house so that you can quickly document whether damage is in a primary bedroom, secondary bedroom, or living room, for example.
The checklist should have a clear categorization of which items are clean, dirty, and damaged, along with space for notes on condition. It should also include notes on whether you have photo or video documentation, and where that documentation can be found.
Finally, the document should have signatures from both parties.
There are many dedicated apps for walkthrough documentation, which can often link photos directly to checklist items and store everything together in the cloud. Some digital walkthrough tools are included directly in property accounting software programs, while others have optional integrations.
Tips for a successful rental move-in walkthrough
Moving day can be chaotic, so simplifying the move-in walkthrough as much as possible will help give your resident and your team a better experience. Start by scheduling the walkthrough ahead of time. Aim to perform the walkthrough before the residents bring in furniture, which can cause damage as it’s being moved or obstruct already existing damage.
To minimize future disputes, perform the walkthrough alongside the resident so that you can note any issues together in real time. This will minimize disagreements in the future. And of course, make sure to have the resident sign and date the checklist.
Finally, make sure to provide the resident a copy and keep one for your own records. If you have a resident portal, make the document available there so that residents don’t have to contact you if they lose their copy. If you have photos or videos in cloud storage as part of your walkthrough, make sure that the resident can access those files. That way, when move-out time comes, they know exactly what the expected condition of the unit is.
It’s helpful to include general move-in tips, resident expectations, and any information about the particular property alongside the move-in walkthrough checklist, typically in a resident welcome letter. This will help start off the property manager/resident relationship on a good foot.
Tips for a successful rental move-out walkthrough
A move-out walkthrough is not entirely different from a move-in walkthrough, but it does come with some unique considerations. At move-out, the walkthrough is typically focused on finding damages or issues caused by the resident, often with an eye towards security deposit charges.
Schedule your move-out inspection for as close to moving day as possible, either just prior to the resident leaving or just after. Be sure to bring the original move-in checklist so that you can compare the unit’s current condition to how things looked on move-in day.
Note any damage that goes beyond normal wear and tear, and be sure to take updated photos or videos for your records. When you deliver the move-out walkthrough checklist to the newly vacated resident, be clear about next steps regarding the security deposit and repair costs. You should also consider writing a simple thank you note to the resident, particularly if they’ve taken great care of the unit and are leaving on positive terms. You never know when they may be looking for another home to rent, and you want to be high on their list!
Make property management easier with Second Nature
Rental walkthrough checklists are a simple step that can protect your property, your residents, and your investors. A high-quality checklist sets clear expectations with residents and minimizes disputes down the line, creating a true triple win.
Second Nature’s Resident Benefits Package is another triple win you can add to your toolbelt. Designed to make property management easier while also delivering the best resident experience on the market, the RBP is a must-have for strategic property managers.
Interested in getting started? Book a demo with a local RBP expert to see it in action.


